Here are nein, I mean nine, Dorfromantik tips and tricks so you can get your escapist adventure underway and have your world looking fresh right in time for Oktoberfest.
#1: Learn the control scheme
Dorfromantik lets you choose between the mouse and keyboard for most of your controls. These controls are as follows: There is currently no undo tile option, so be warned, as you might accidentally misplay using the left click while trying to move the camera.
#2: Pay attention to your quest types
After placing down a few tiles, quests will emerge for you to complete. There are two main quest types in Dorfromantik:
Plus quests: connect at least that many of that terrain type. Exact quests: connect exactly that many of that terrain type.
Additionally, both quest types may have a triangle on the corner of the symbol. You’ll find more of these quests later in the game and they are often the most challenging, but equally the most rewarding. Triangles mean you have to close groups at the end of each quest, placing tiles in such a way that you can’t expand groups further. The game puts a flag down on the map after you’ve completed them, which is a nice touch. There are rare crowned quests too, where you have to reach specific locations on the board. As you get closer, a preview appears of the tile at the location, so use this to plan ahead. The unique thing about completing them is they unlock a reward challenge for future games.
#3: Think about why you are playing the game
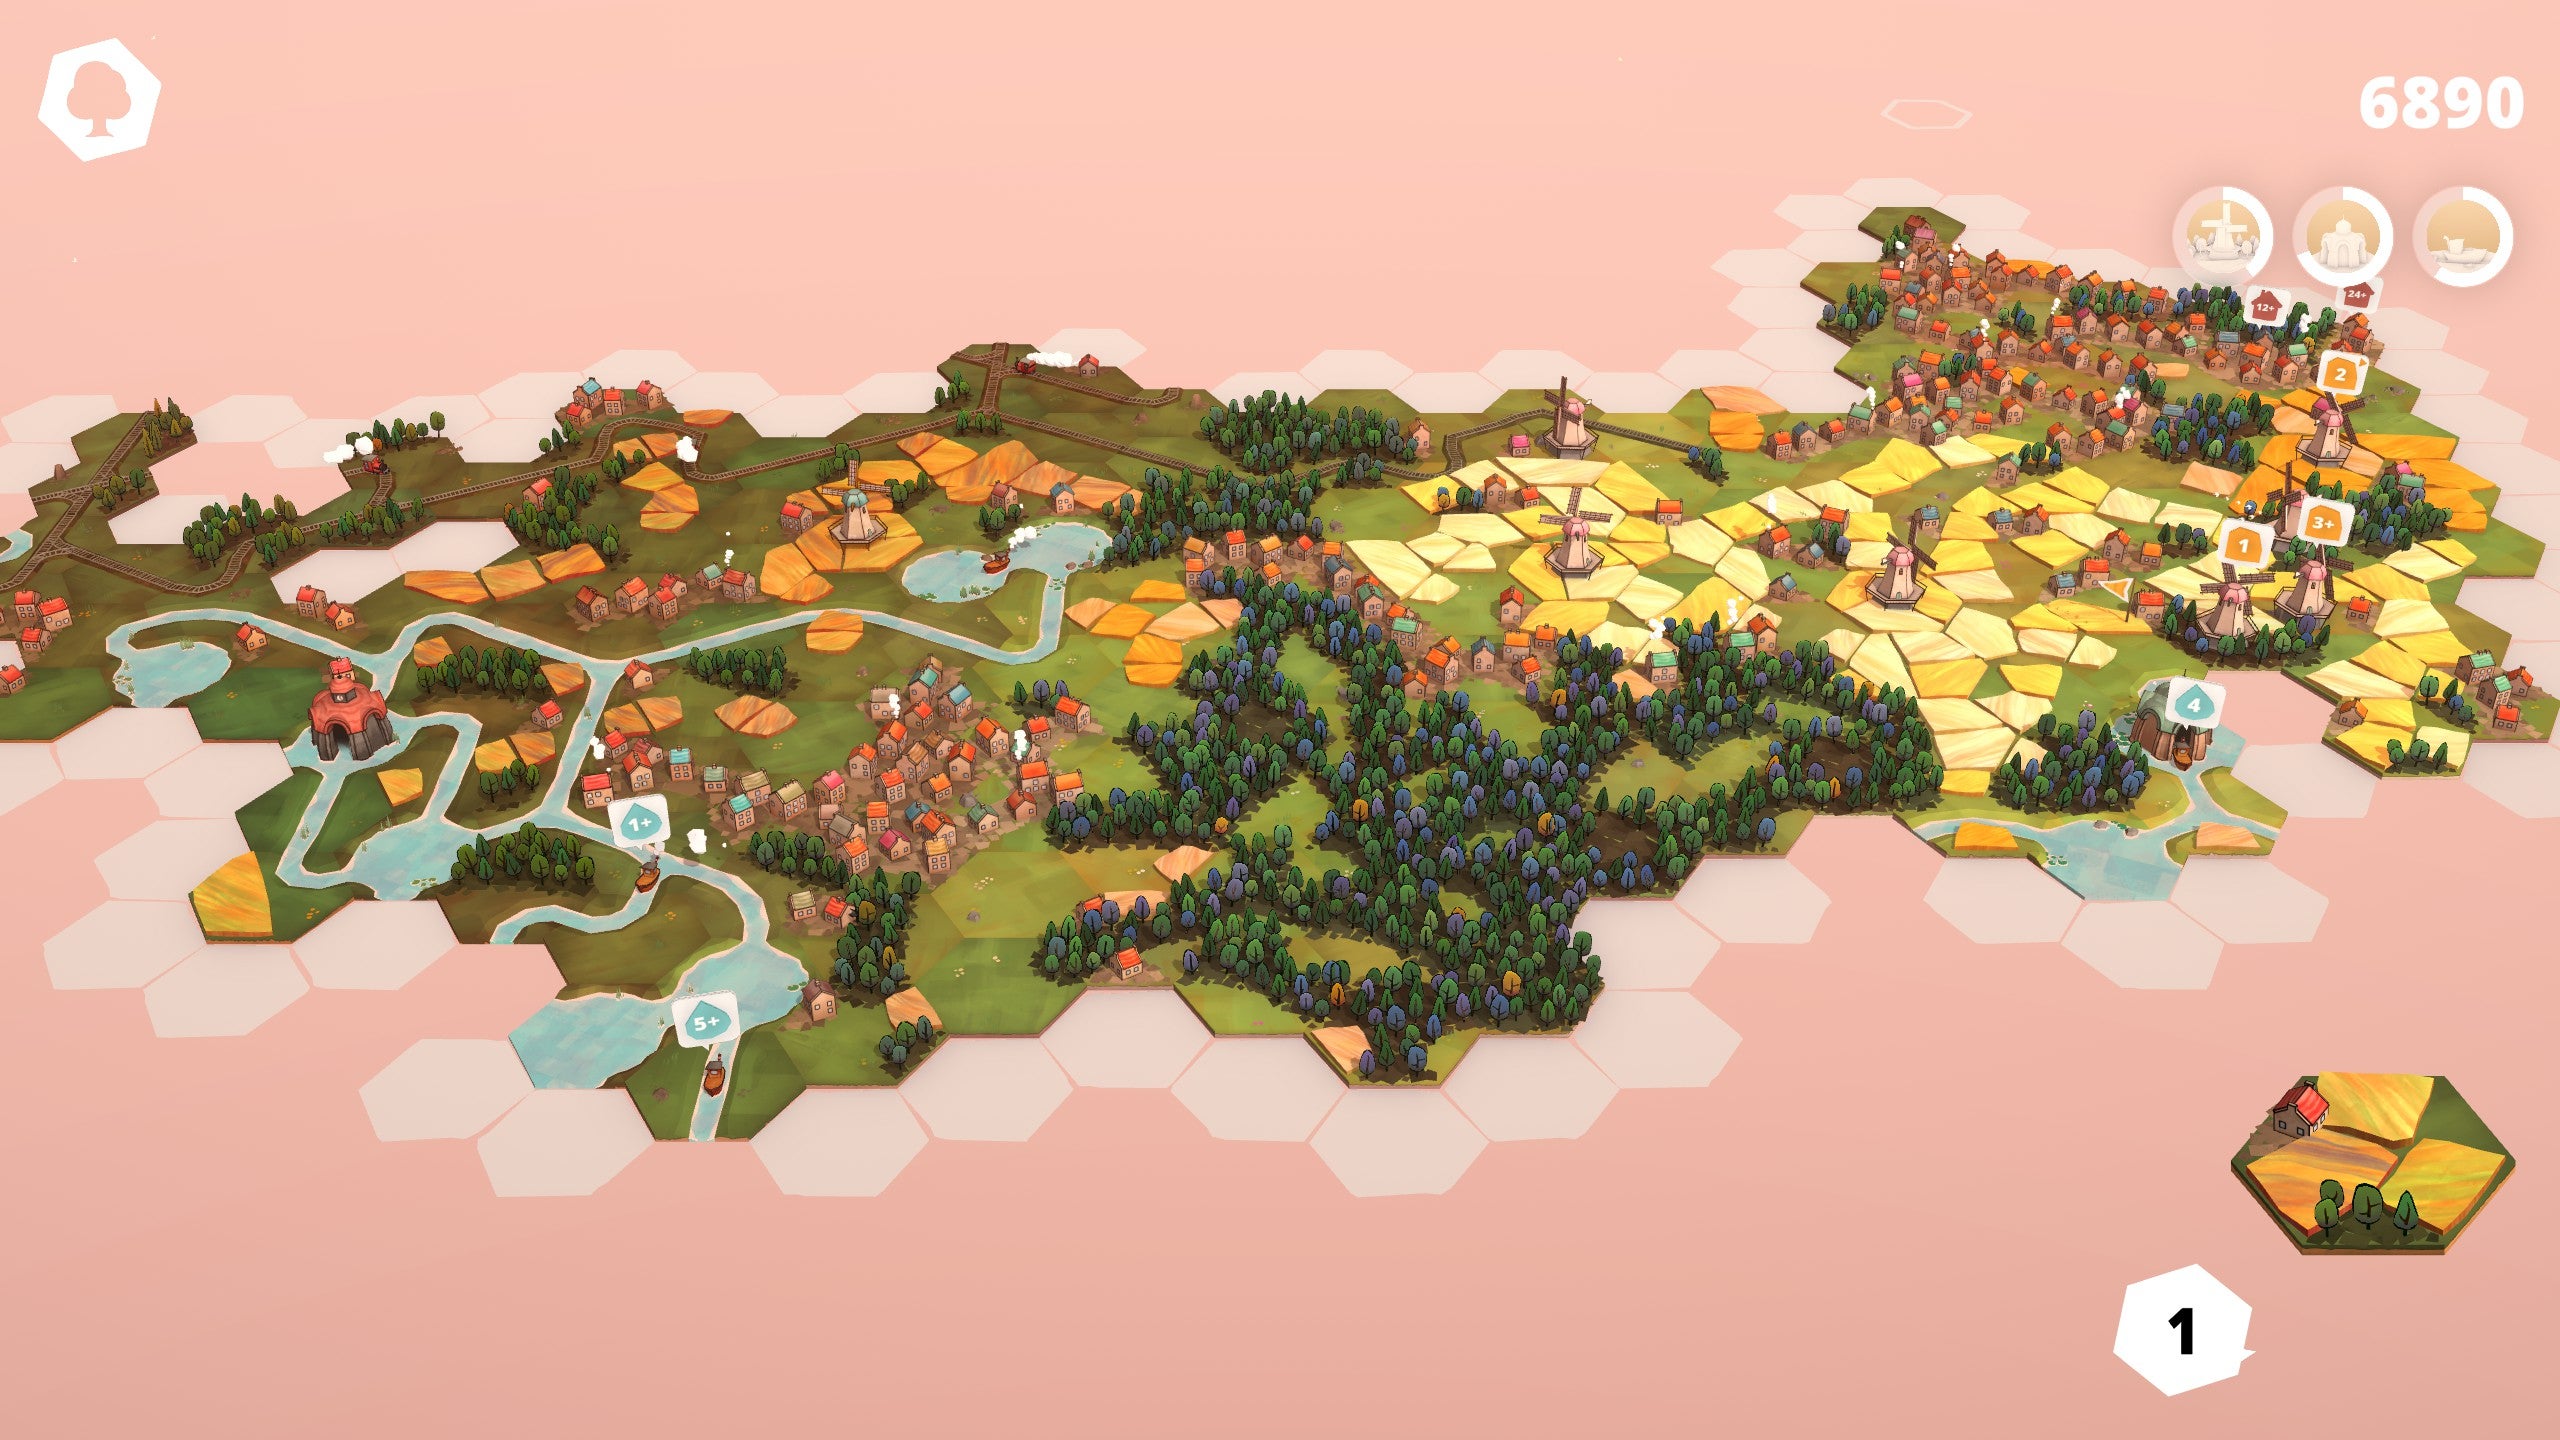
The beauty of Dorfromantik is that there are many different viable playstyles, so you can get exactly what you want from the game. You might want to set high scores and soar up the leaderboard, start ticking off the Steam achievements, or simply seek a calm and relaxed game – the choice is yours. If you want that high score, perfect tiles and early quest completions are your go-to. Achievements can be unlocked by finishing the long term tasks in the top right corner of the screen. As you finish them, you’ll unlock things like boats, trains, windmills, watermills, deers, water train stations, fountains, and towers - as well as the blossom, fjord and lavender biomes. Most of these have little to no impact on the gameplay, but they look really pretty and further bring Dorfromantik’s colourful world to life. How you choose to play Dorfromantik will determine how you play your tiles, and it’ll also influence how carefully you consider some of the following points on this list.
#4: Keep track of your stack
You start each game of Dorfromantik with a stack of 30 hexagonal tiles. As you progress, you’ll get quests, which you can complete to earn tiles, which you can use to complete quests and so on and so on. You can earn tiles as follows:
5 tiles for finishing a standard quest (plus or exact) 8 tiles for finishing a triangle quest (plus or exact, a flag is placed when completed)
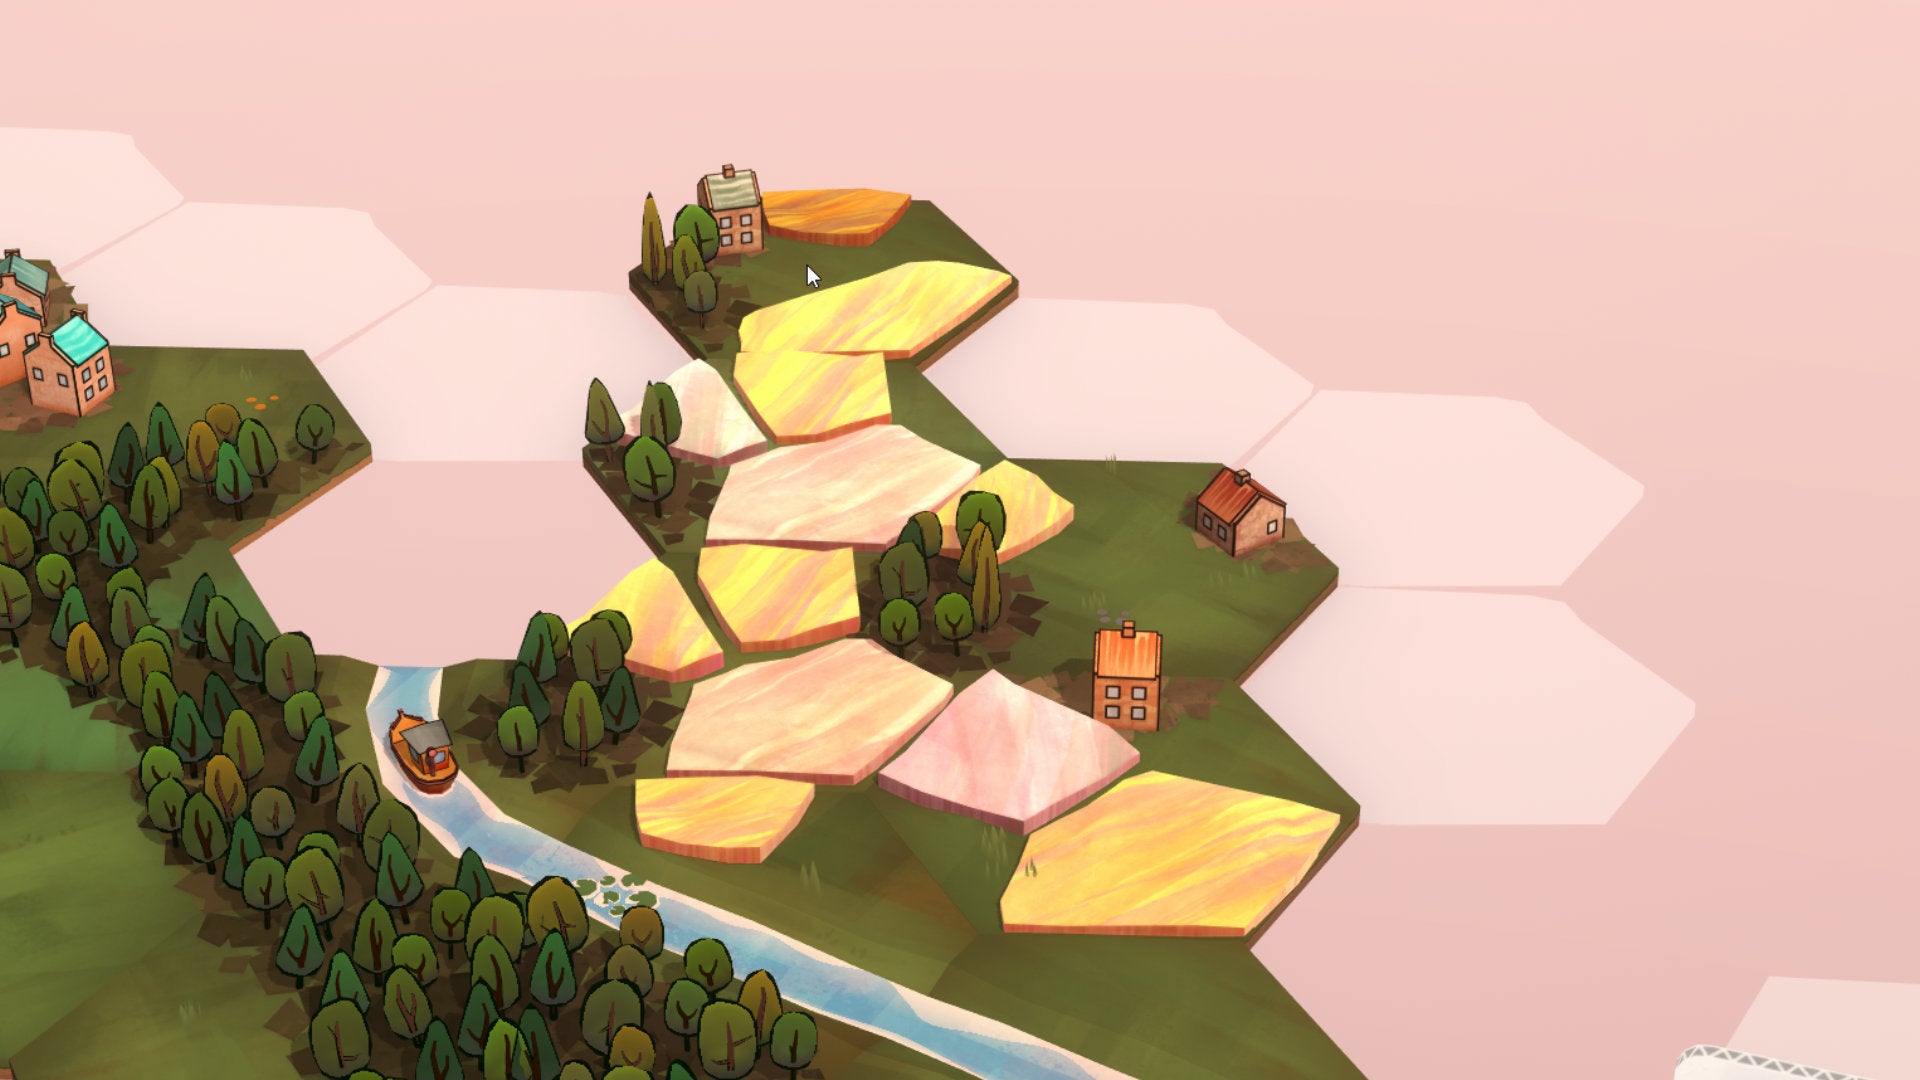
You also gain 1 tile for completing a perfect tile arrangement. A perfect tile arrangement is when all six sides of one of your tiles are matched with neighbouring tiles of the same type. Try to spot as many of these opportunities as you can.
#5: Know the score
Scoring in Dorfromantik works as follows:
10 points for each edge you correctly match 60 points for each perfect tile arrangement 100 points for each standard quest you complete 150 points for each triangle quest you complete
Perfect tiles are your bread and butter for high scores. Something to note with perfect tiles is that they count when all the other sides are matched off, not just when you place them. What’s being shown is all the other tiles being perfectly placed off, not just your placed tile being perfect, so you don’t have to build a hexagon around your tile and pray you get the right one to slot in. It looks cool when it happens though.
#6: Use the game to help you
Dorfromantik lights up the matching sections of your current tile with corresponding ones already existing on the board. The game automatically updates quest progress, giving feedback on if a quest will be completed or failed without you having to confirm tile selection. Simply hover your current tile to where you think it could fit best and keep changing its direction. Think about which groups you want to add to and take time to try different spots and different tile orientations. Hovering your mouse over the quest symbol indicates which direction you can expand an existing group in, by showing a different colour along board edges for each geographical feature. These are as follows:
Houses in red Trees in green Fields in yellow (for the default biome) Water in blue Railroads in brown
If you’re a visual learner, this is a great way to keep track of what’s going on.
#7: Study your tiles
Carefully look at each of the six edges of your current tile, examine each side and zoom in to examine the edges of the board as well. Know the limits of the tiles too. For the maximums:
Up to 7 houses on a tile (every edge, plus the centre) Around 30 trees on a full tree tile Up to 3 fields on a tile Tracks can travel in up to 4 directions All-water tiles (colloquially known as lakes)
Water train stations also have 6 water edges and along with lakes, can be placed anywhere; however, it’s best to use the water train stations to connect tricky tiles that have river streams and railroad tracks. As for minimums, there are solo houses and fields, with solo train pieces for the end of the track. I’m not sure about the minimum tree tiles, but you’d be hard-pressed to find one with three or less. Water streams always travel from one place to another and the only way to close them off apart from loops is with a lake.
#8: Start thinking long term
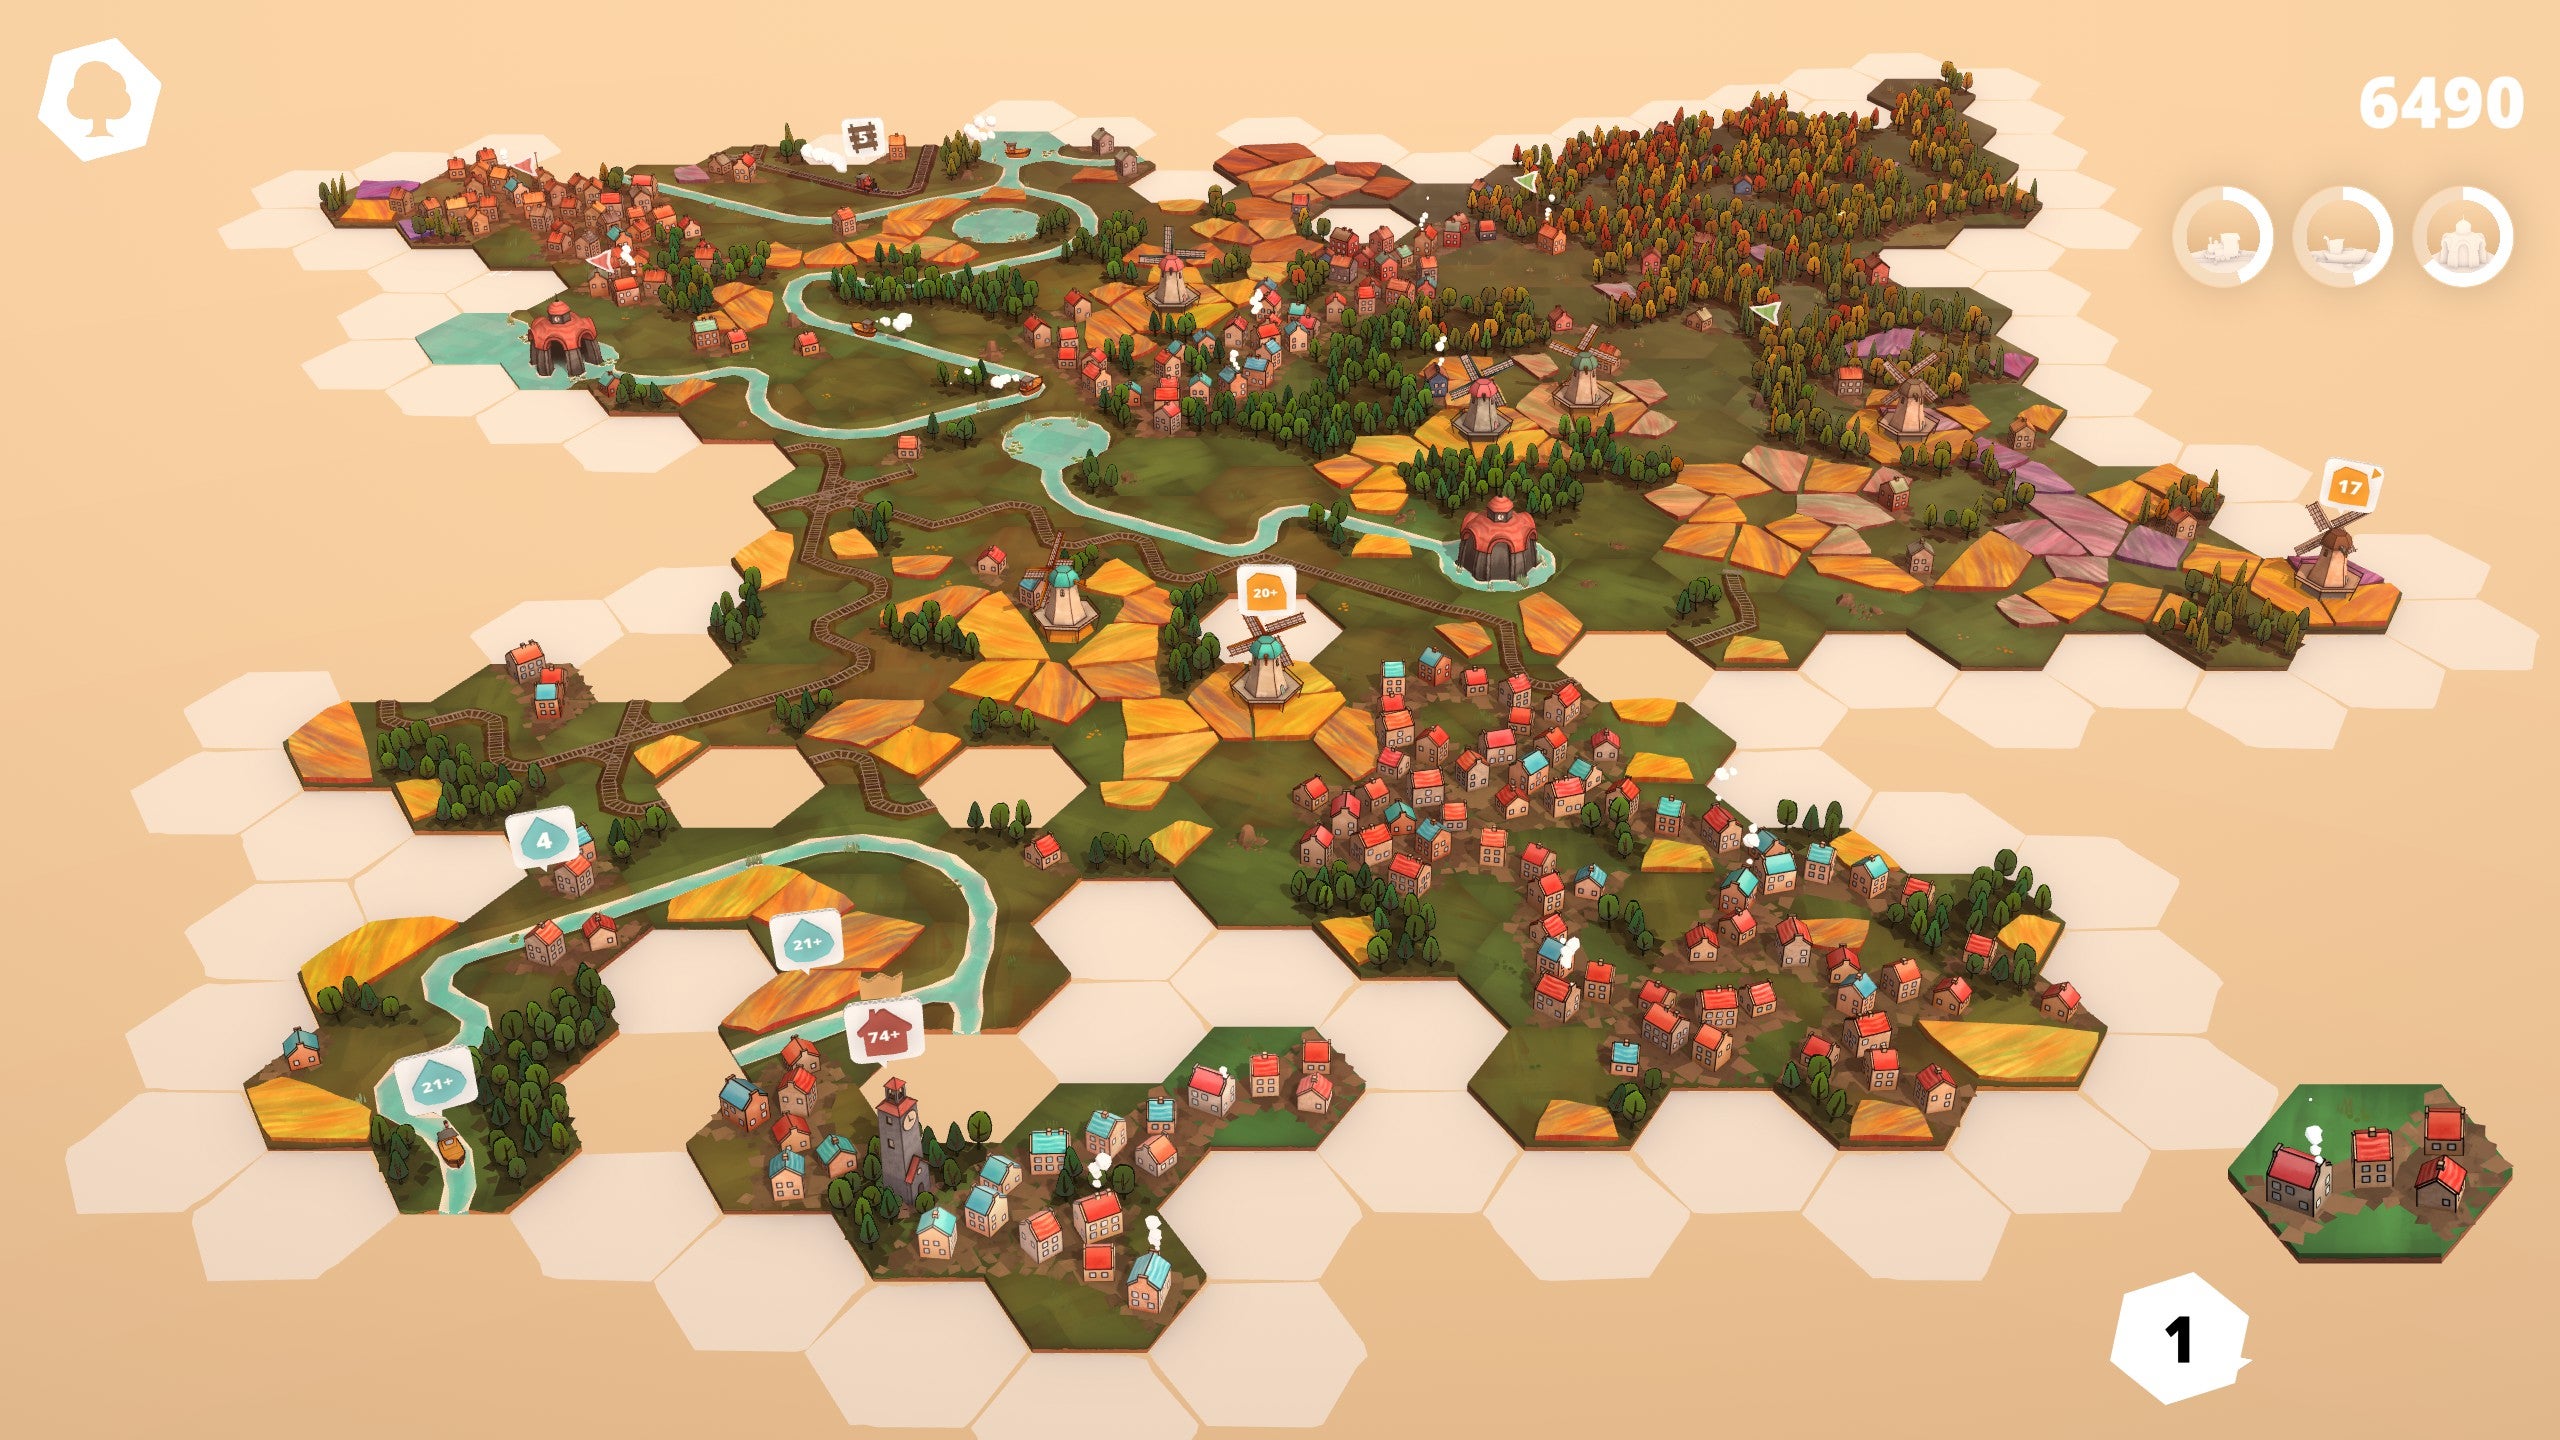
When you start the game, a common strategy is to build different groups of the geographical features in the different directions of the board. While large clusters of houses, trees and crop fields may work initially, as you progress you may not get the right tiles to make things work later in the game. This might also make you miss out on perfect tiles, as many tiles have two or three of each feature. Consider forming smaller settlements of each feature in each direction, with enough open edges that give you options to build on. Also water tiles often come with crops and train tracks with water streams. Contemplate building a handful of streams and tracks in a few directions and hopefully you can pair them up with a water train station. Use the preview in the bottom right corner to plan where to place the next 3 tiles in advance and think about which quests you want to focus on. Something key to remember is it’s okay to fail quests, as this does not give you any penalty. Dorfromantik spawns quests when you’re low on them, so it’s best to fail ones you don’t like early on, and stick to quests you think are manageable.
#9: Take your time and don’t forget to have fun!
While you might stress over not getting the exact tile piece you need, potential misplays, and quests that seem impossible to finish, remember: Dorfromatnik is designed to be chill. There’s no time limit, so you can play at your own pace. Take time to have a rest between and during games. Being in a relaxed mental state might help you to see the board more clearly and lead to you getting that high score you’ve been chasing. Consider moves carefully, but don’t fret over mistakes you’ve made as there’s always something to build towards or somewhere you can place a tile. Do what works for you, you’re the only player here and so you’re the only one that matters. There you have it, those are nine lessons for you to learn so you can get the most out of Dorfromantik and have the most relaxed of times. For more on Toukana’s colourful puzzler, check out our Dorfromantik review.