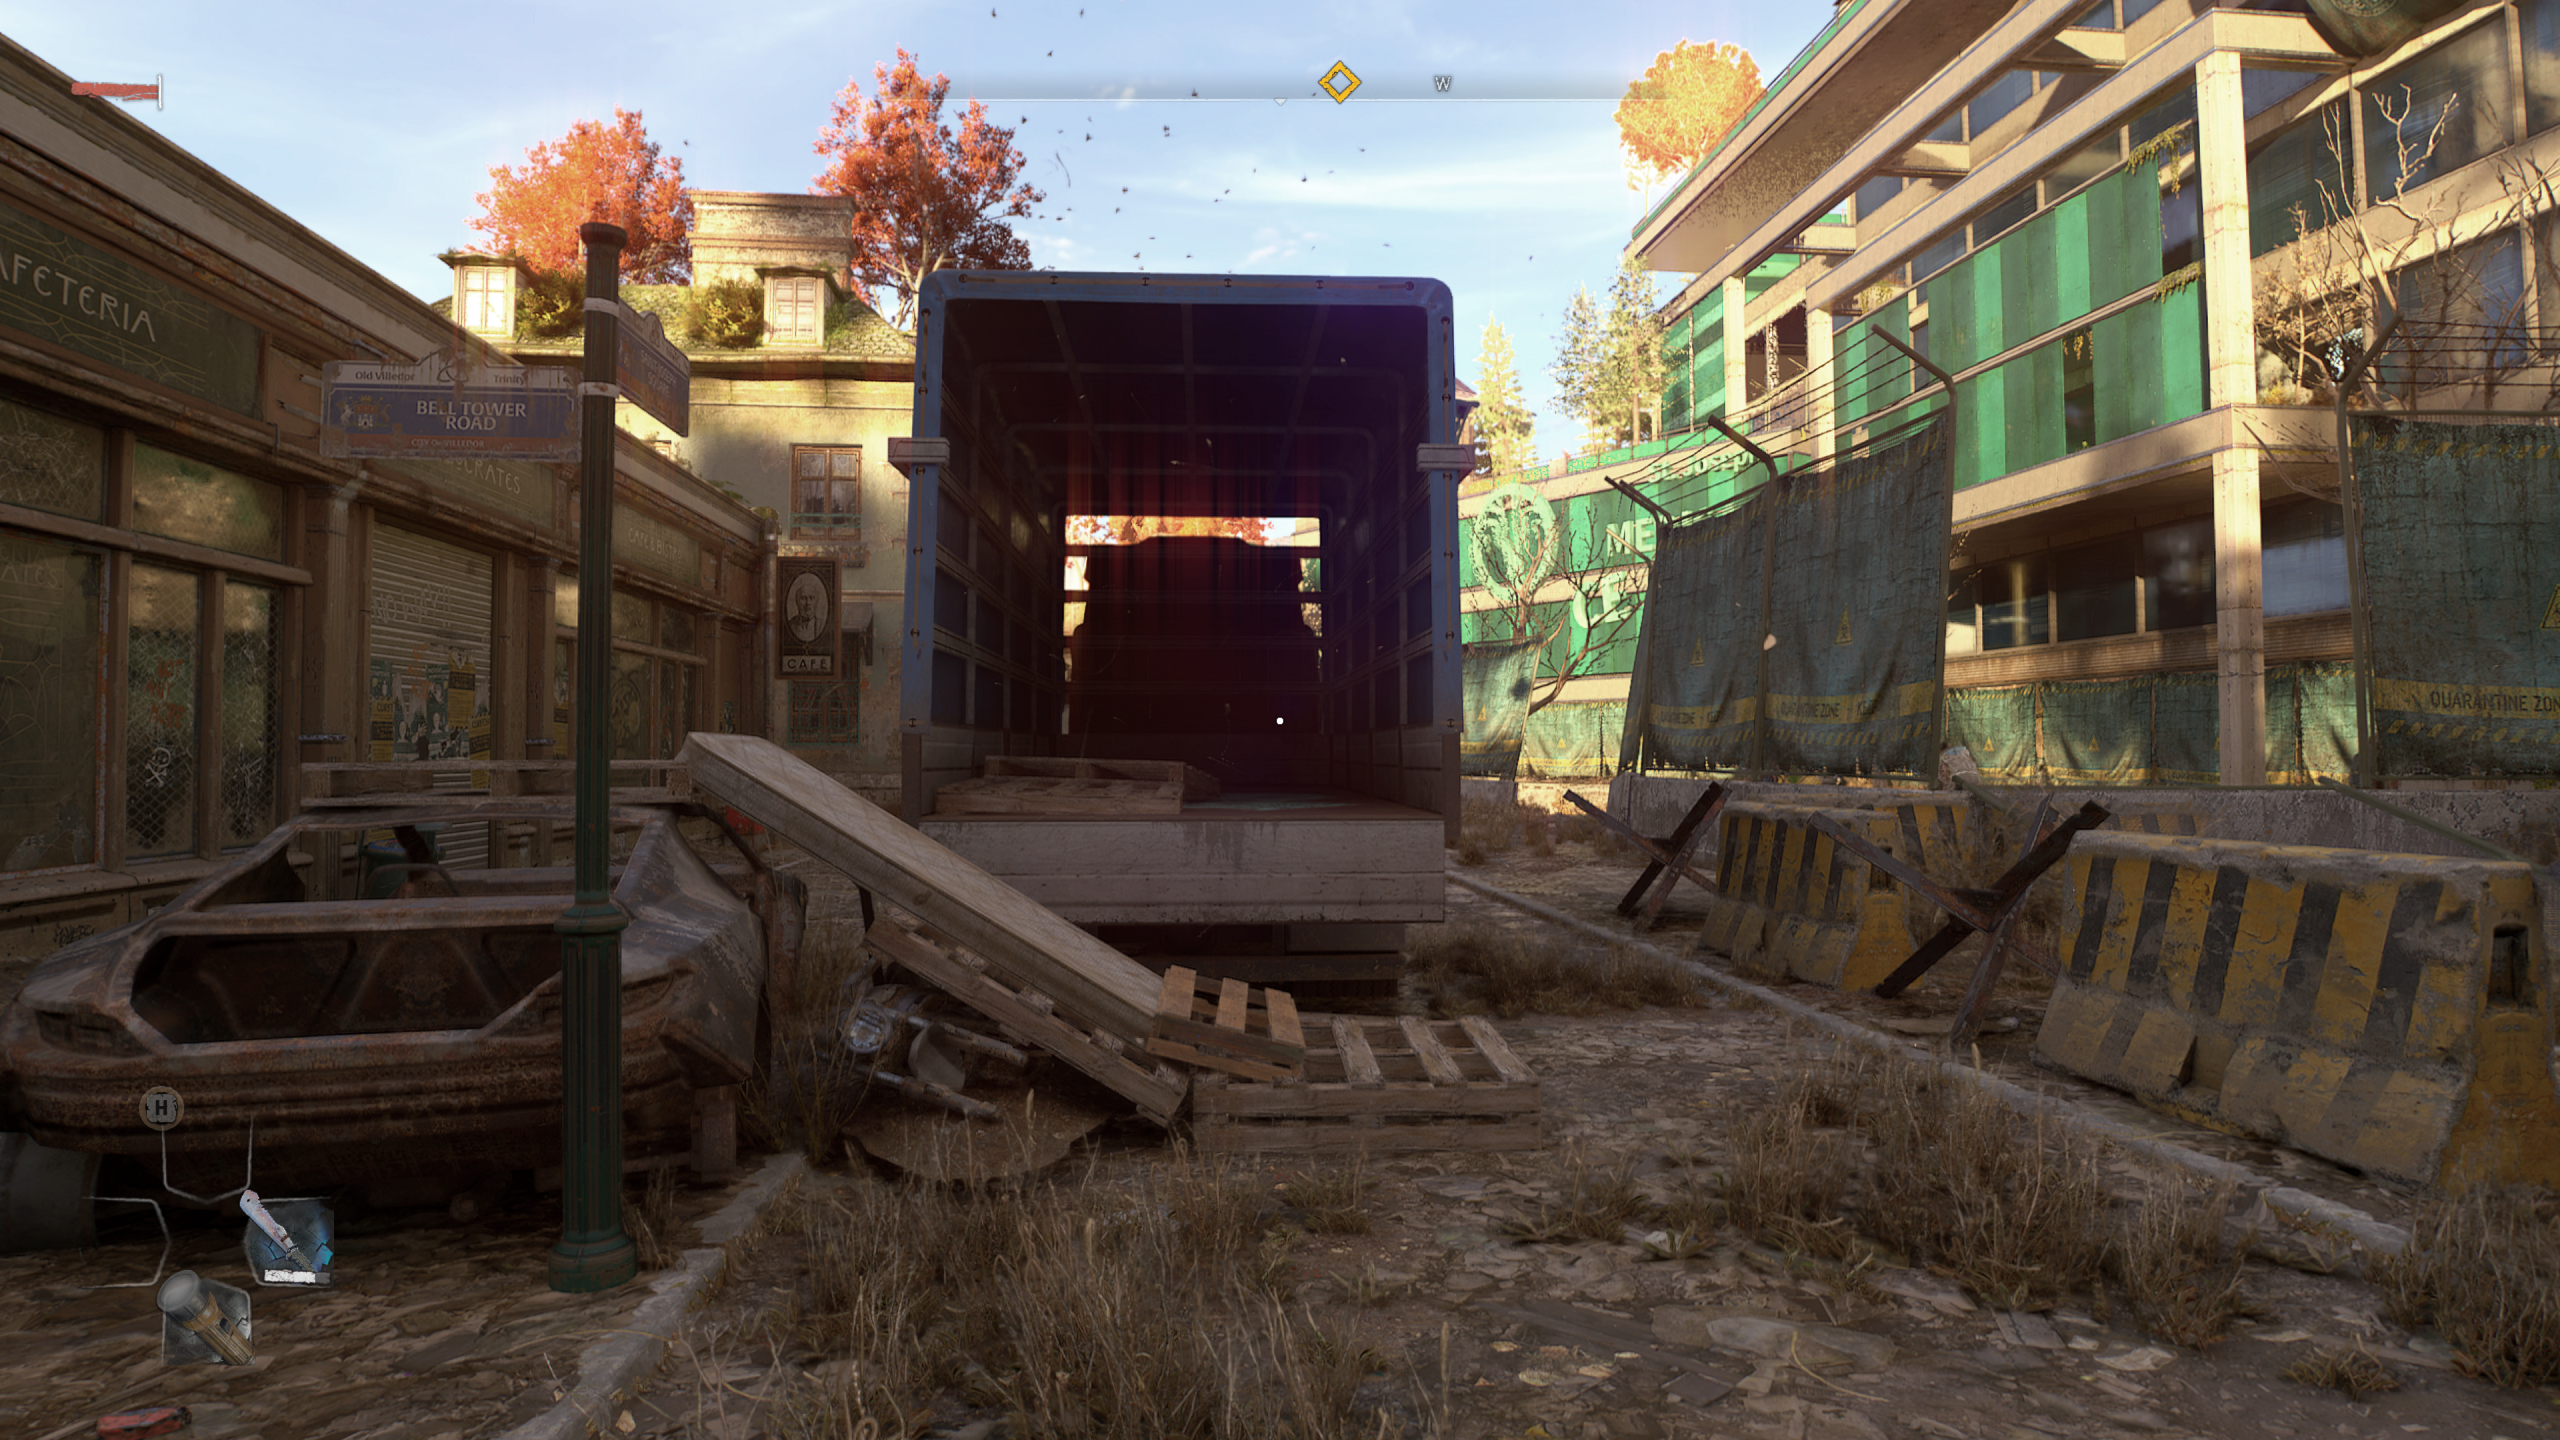
That said, if you are indeed eyeing this on launch day, your best course of action may be to… wait a bit? Developers Techland have already confirmed a “day one” patch for consoles containing over 1,000 bug fixes, and some of these issues have definitely found their way into the PC version too. I was apparently lucky enough to dodge any save file corruption or progress-blocking bugs, but have encountered missing sounds and fuzzier-than-expected DLSS, both of which have been identified for early fixes [Update - DLSS has improved as of the 1.04 patch, and now looks visibly sharper. Huzzah!]. General performance could also do with another optimisation pass, or six. Hope you’ve got one of the best graphics cards, because even on higher-end hardware, Dying Light 2 asks a lot of your PC. 60fps will be more of a realistic target than 144fps, particularly at 1440p resolution and above, so expect to make some quality concessions even after Techland’s patching efforts.
Dying Light 2 PC requirements and performance
Dying Light 2 minimum PC specs (ray tracing off, 1080p, 30fps):
CPU - Intel Core i3-9100 / AMD Ryzen 3 2300X RAM - 8GB GPU - Nvidia GeForce GTX 1050 Ti / AMD Radeon RX 560 OS - Windows 7 or later Storage - 60GB HDD
Dying Light 2 recommended PC specs (ray tracing off, 1080p, 60fps)
CPU - Intel Core i5-8600K / AMD Ryzen 5 3600X RAM - 16GB GPU - Nvidia GeForce RTX 2060 / AMD Radeon RX Vega 56 OS - Windows 10 or later Storage - 60GB SSD
Dying Light 2 minimum ray tracing PC specs (1080p, 30fps)
CPU - Intel Core i5-8600K / AMD Ryzen 5 3600X RAM - 16GB GPU - Nvidia GeForce RTX 2070 OS - Windows 10 or later Storage space - 60GB SSD
Dying Light 2 recommended ray tracing PC specs (1080p 60fps)
CPU - Intel Core i5-8600K or AMD Ryzen 7 3700X RAM - 16 GB GPU - Nvidia GeForce RTX 3080 OS - Windows 10 or later Storage - 60GB SDD
You know a game is a PC-melter when it suggests the mighty RTX 3080 might be able to cobble together 60fps at 1080p, ray tracing or no. And although some games can end up with overly cautious system requirements, in Dying Light 2’s case you really shouldn’t go below the prescribed amount of horsepower. I tried a GTX 1050 Ti with Low settings at 1080p, as per the minimum spec, and even when paired with a faster Intel Core i5-11600K CPU it only averaged 29fps in a benchmark run through the open world. Next out of my GPU pile was a GTX 1080 (no RTX 2060s in there, sadly), and while this is broadly on par with the recommended non-RT spec, it fell a bit short of the magic number with 53fps at 1080p. This jumped to 74fps with the aid of FidelityFX Super Resolution (FSR), AMD’s more widely supported version of DLSS, but upscaled 1080p is just too blurry to bear. Ah, yes, upscaling. Dying Light has three kinds – DLSS, FSR and its own linear upscaler – and even with its soon-to-be-patched lack of sharpness, DLSS is easily the best of them. It’s a downright necessity when ray tracing is in play, too, though some settings combinations will remain out of reach for all but the likes of the RTX 3090. Sadly, even if you own one of the best 4K gaming monitors, dropping to 1440p might serve you better: with my usual RTX 3070 back in the test PC, trying to run maxed-out settings at 4K only got me 32fps on average. And that was with DLSS – without it, the usually 4K-friendly RTX 3070 simply won’t be able to handle such settings.
Dying Light 2 best PC settings guide
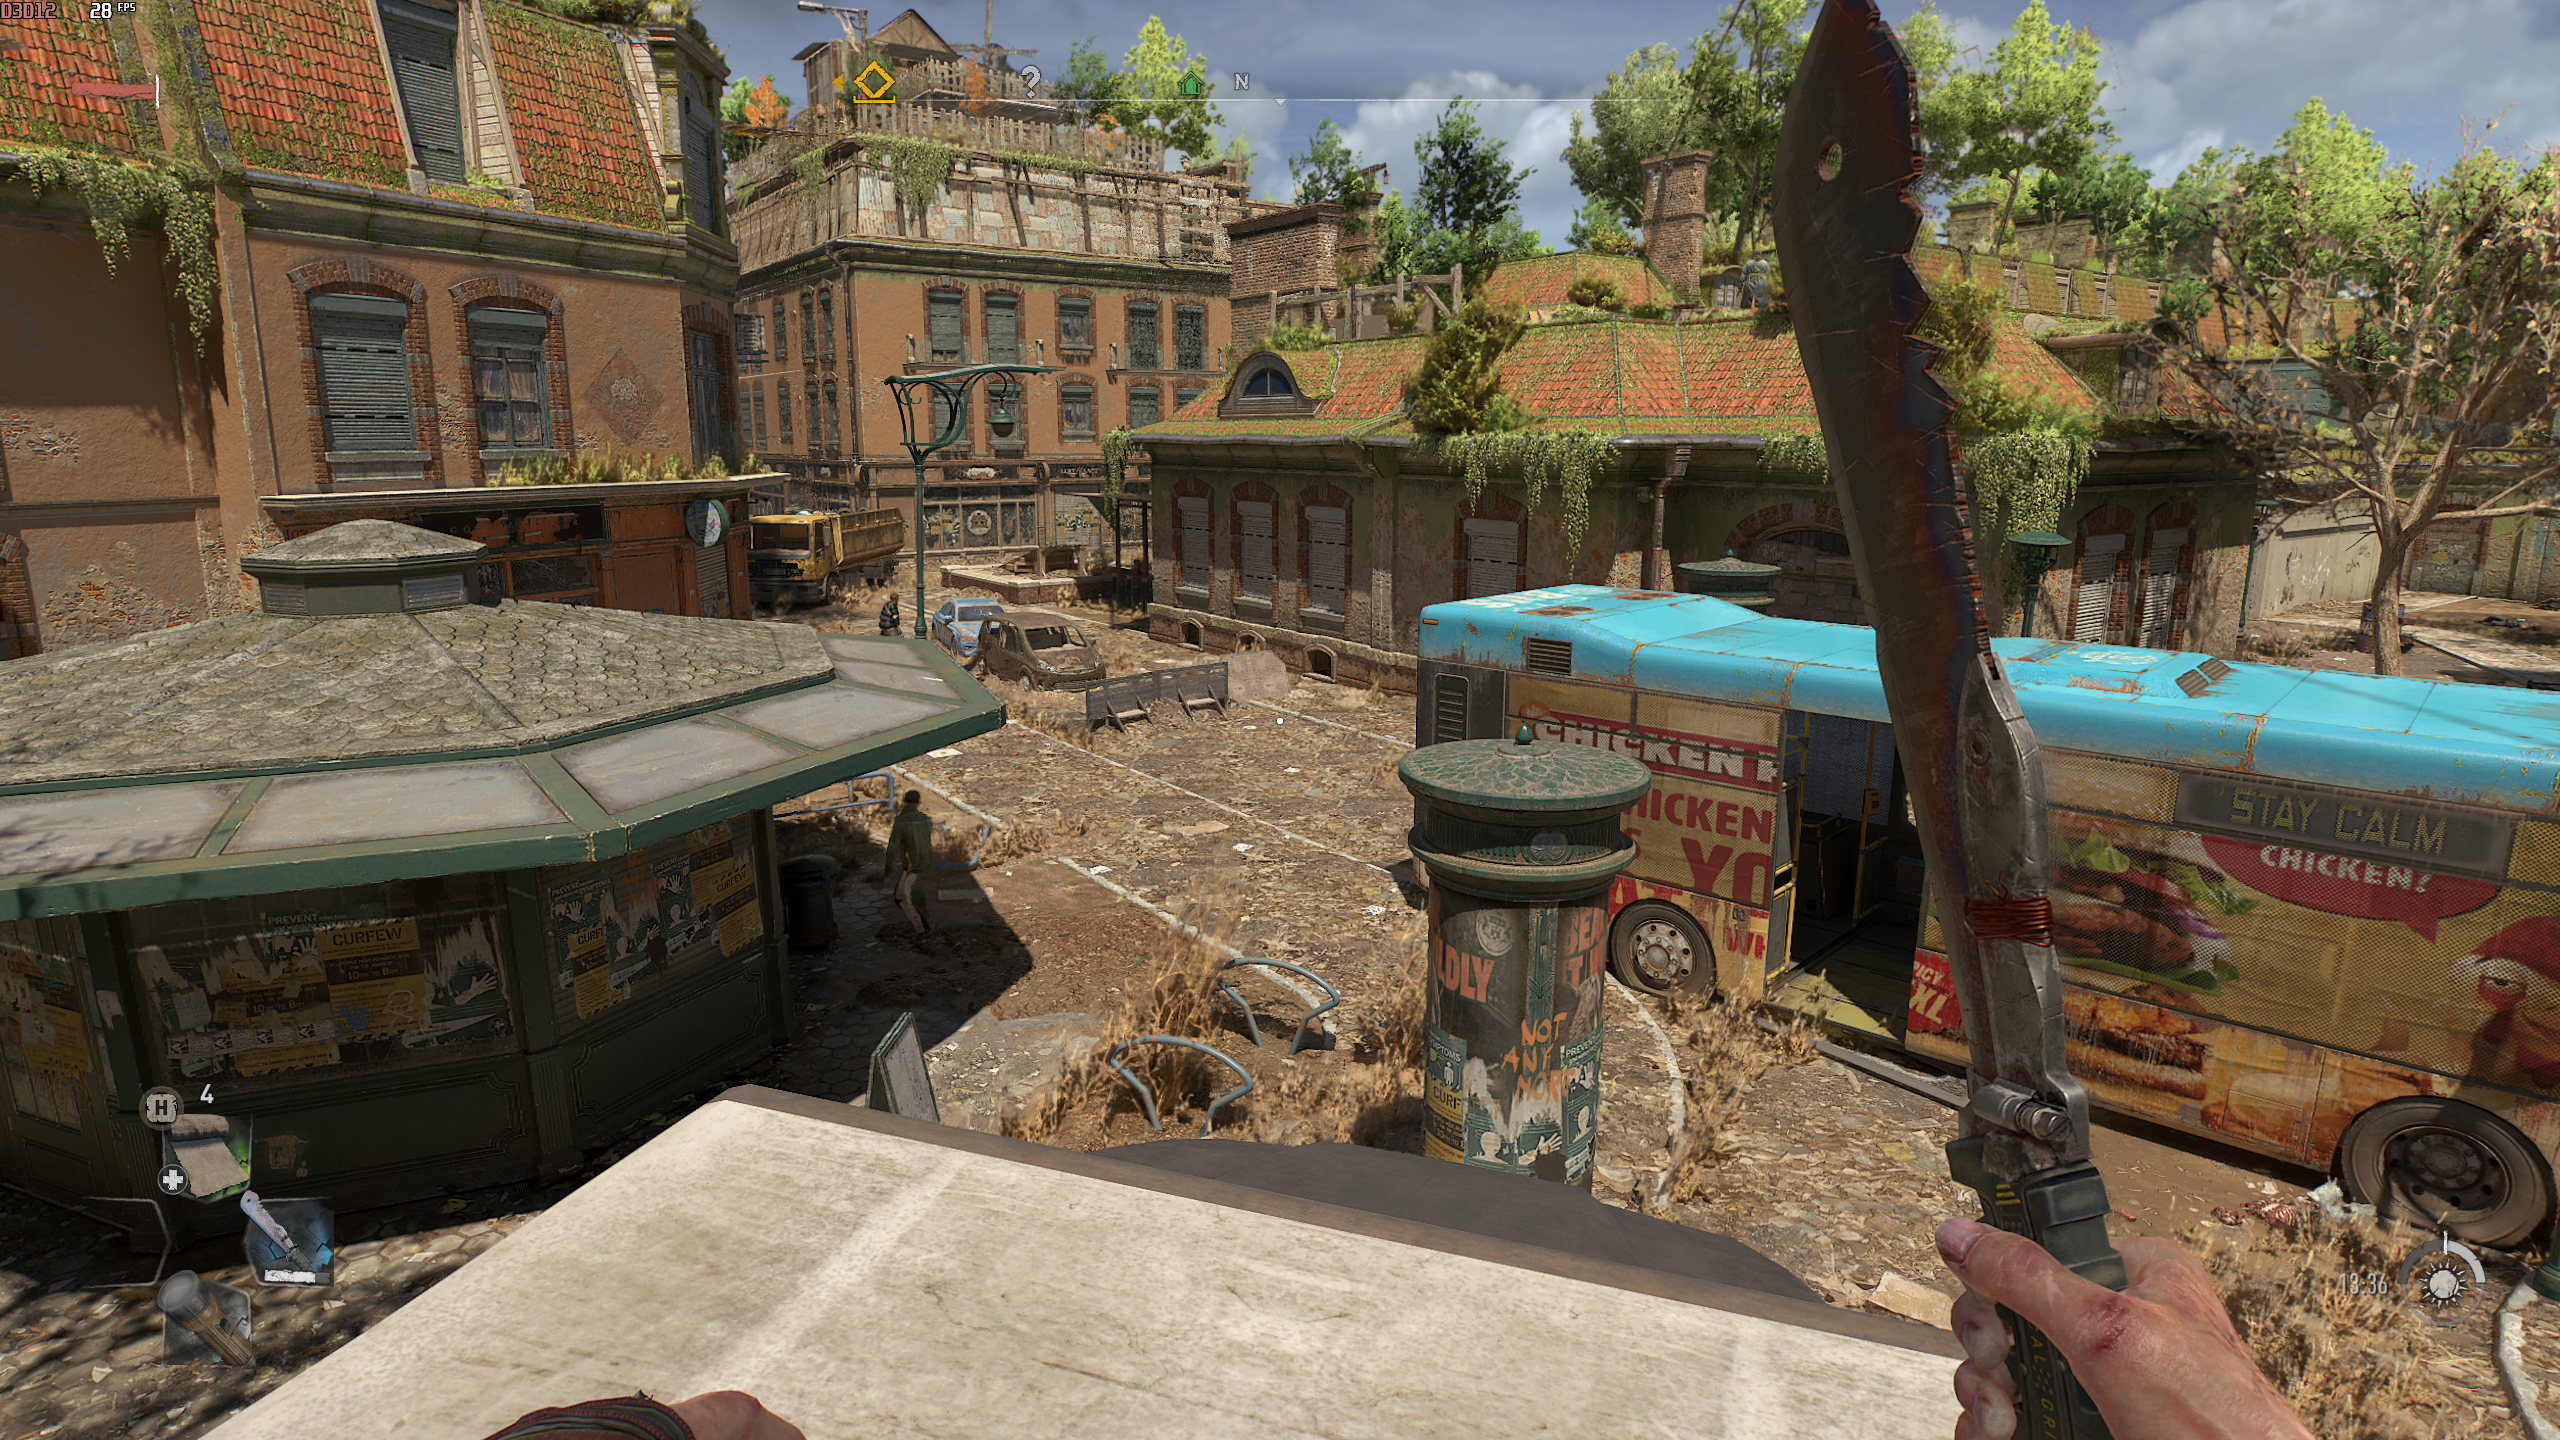
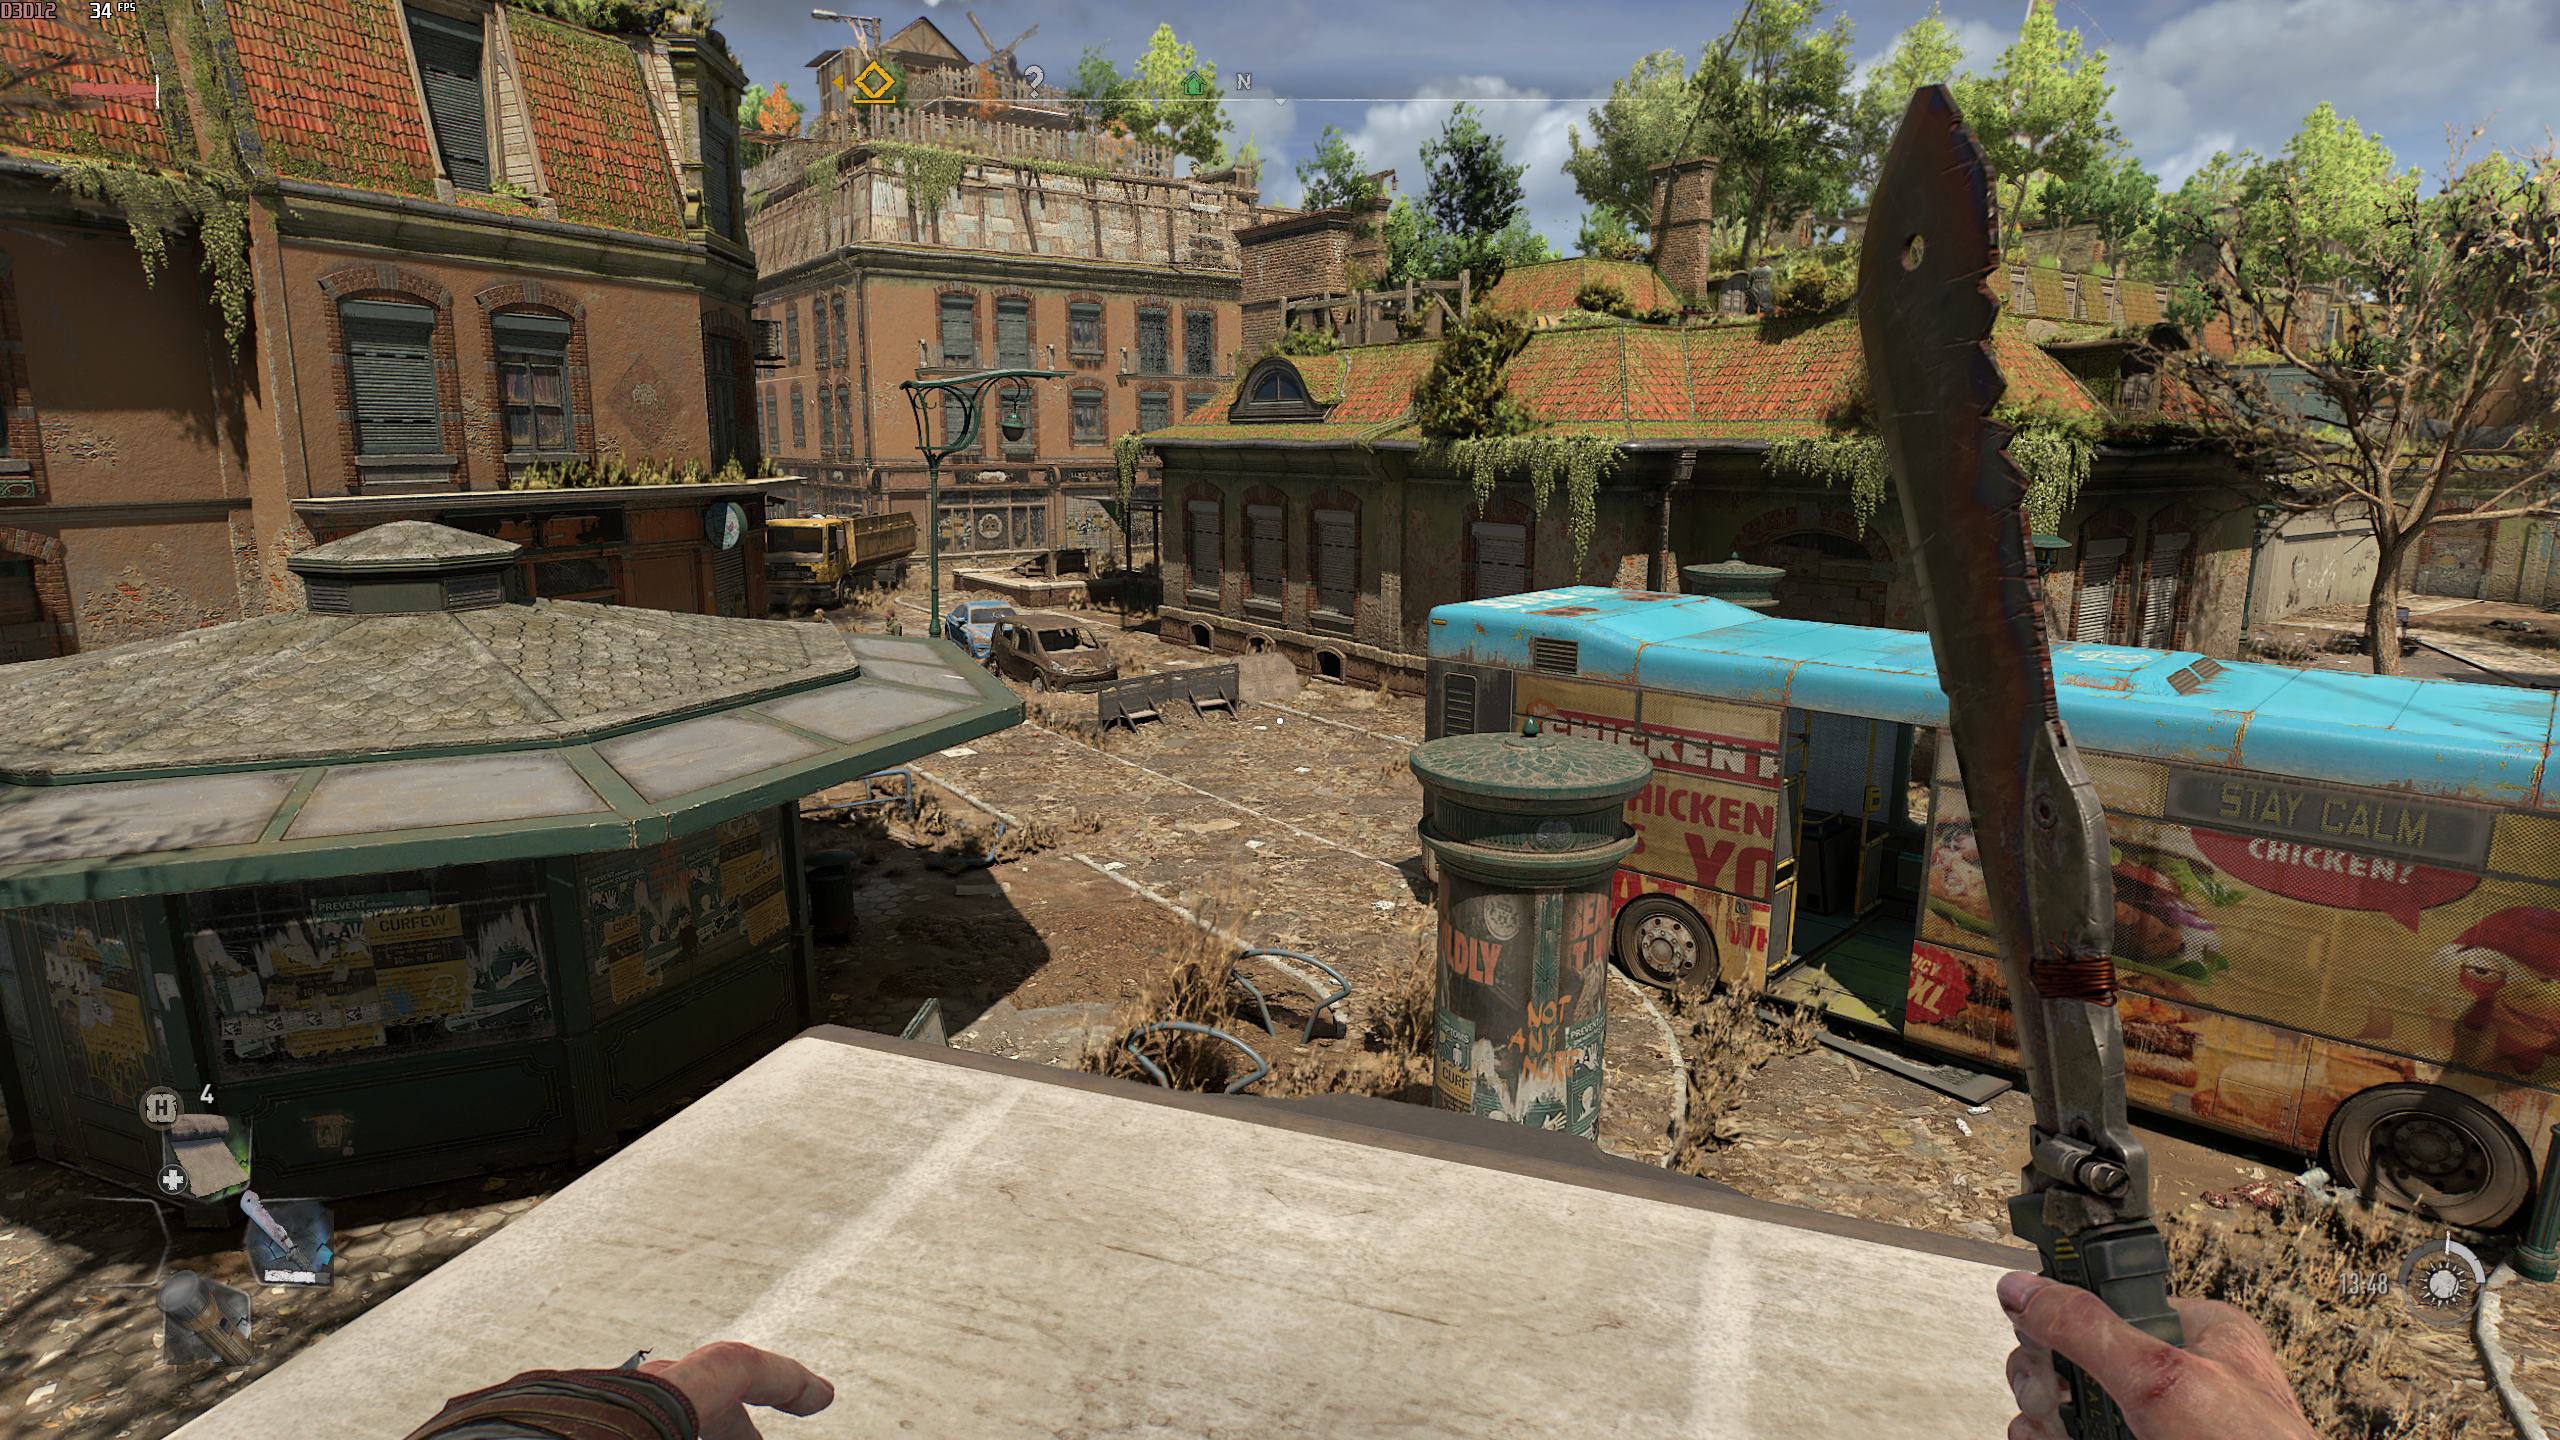
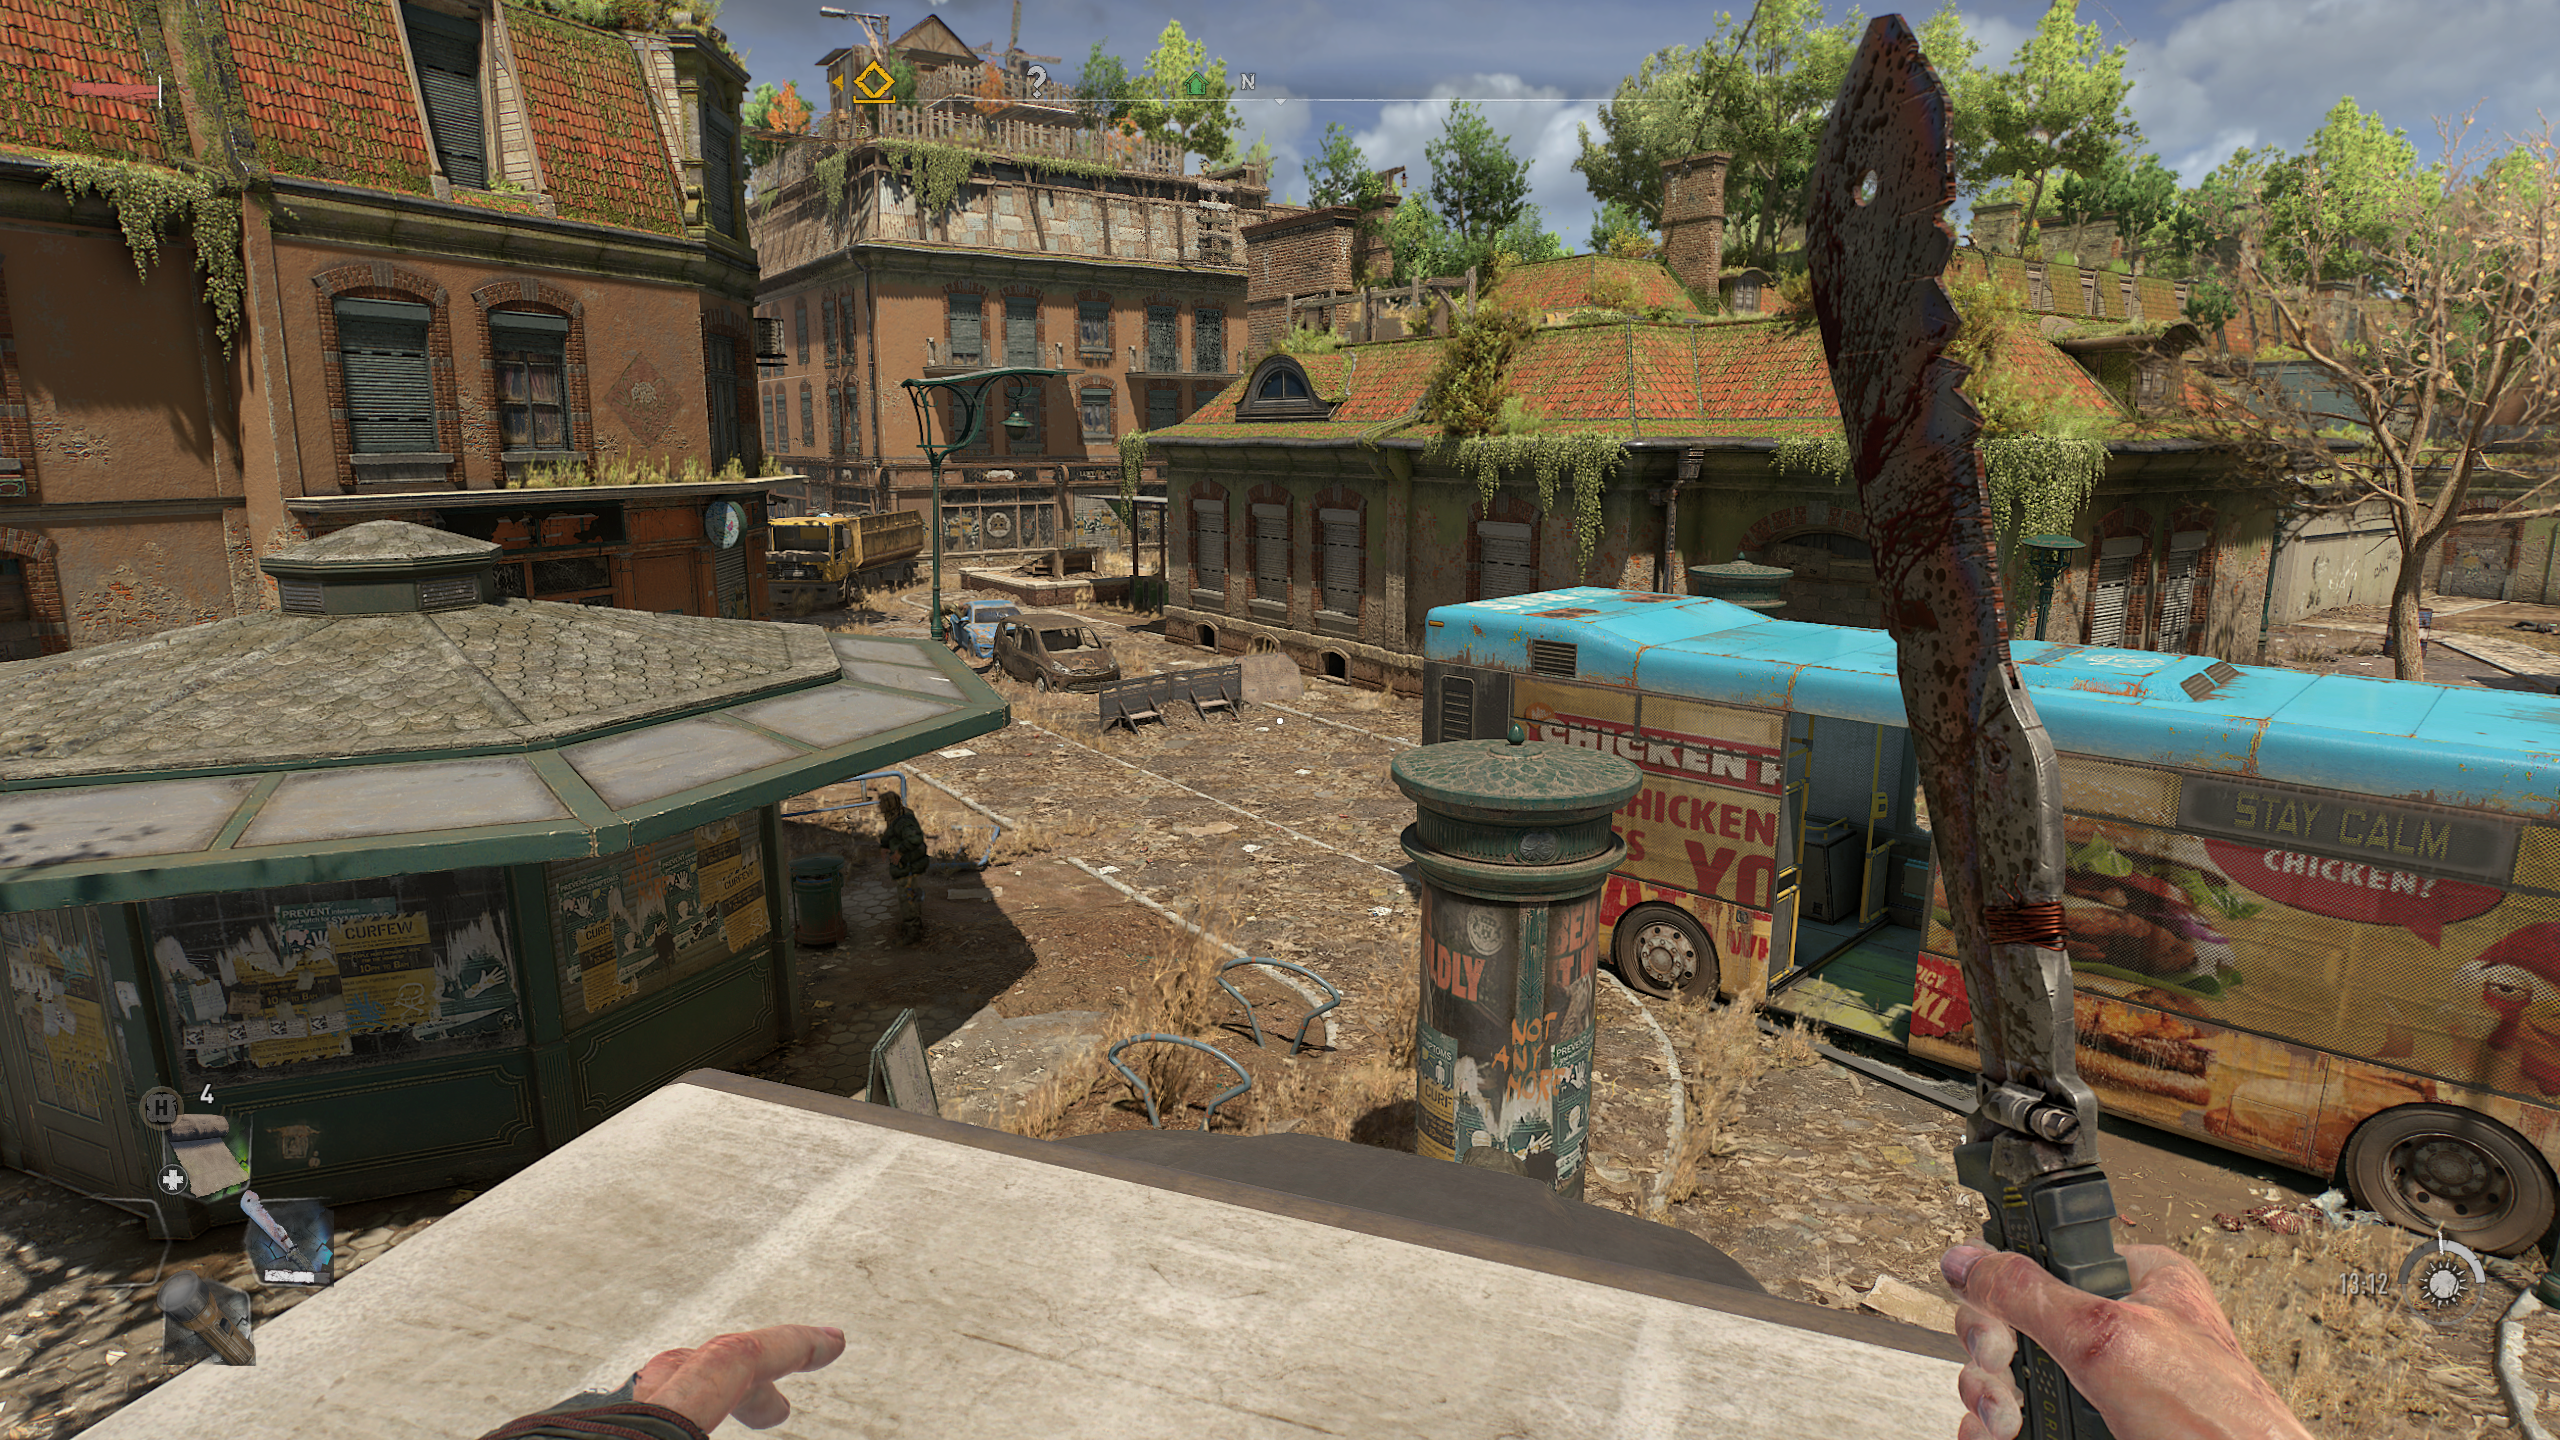
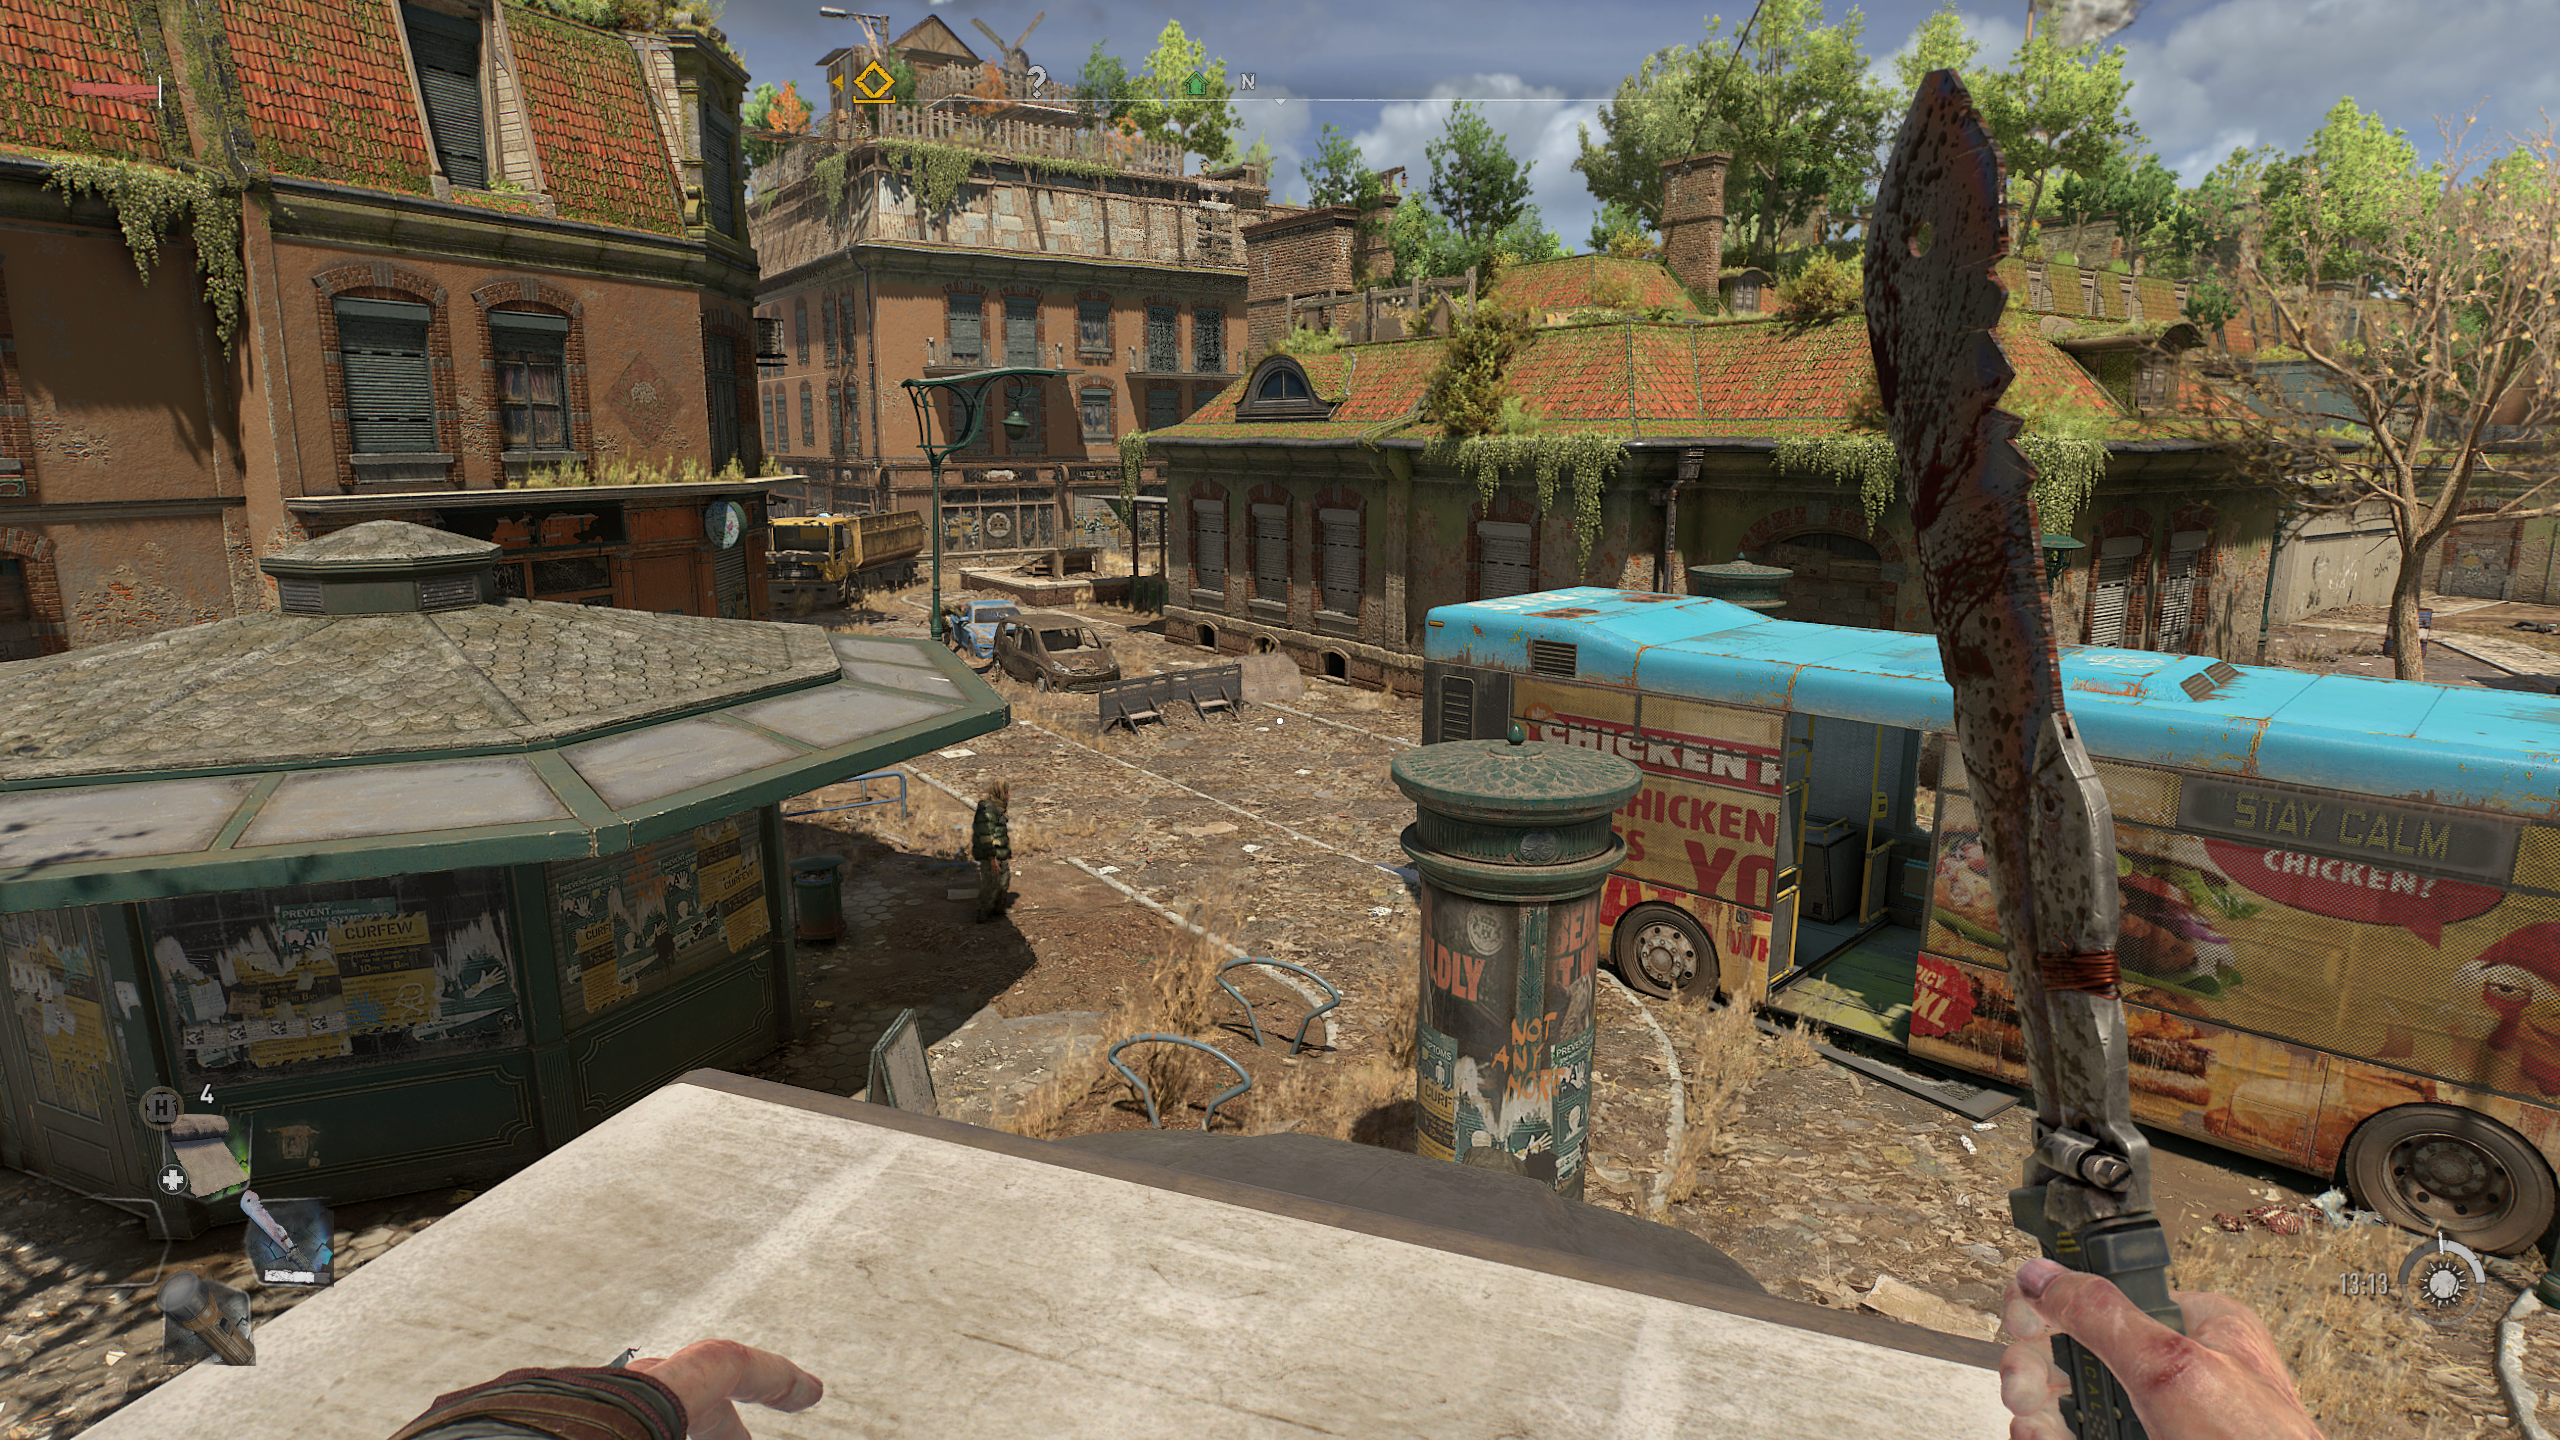
To its credit, Dying Light 2 takes a smart approach to its most demanding ray tracing adornments. In addition to the Low, Medium and High presets, there are a further two levels named Raytracing (no space, the hooligans) and High Quality Raytracing. So if you lack a suitable RTX graphics card, it’s simple enough to pick one of the three presets with no ray tracing whatsoever. It’s worth noting that Dying Light 2 goes in hard on ray tracing, on a level rarely seen outside of games like Metro Exodus and Control. Having all things RT enabled will drastically improve the quality of reflections and lighting effects, even with the occasional imperfect; you can see in the comparison shots below, for instance, that shadows from the most distant building’s balconies and roof have a shorter draw distance than standard shadows. Ray traced effects invariably look better up close, mind – check out the more believably darkened bus interior, or how the clumps of overgrown grass actually cast shadows at all. You also get a very granular level of control over which specific ray traced effects to engage. You can enable or disable ray traced shadows, global illumination, reflections, and ambient occlusion individually, not to mention the handful of other customisable settings. To find which are the best settings to crank up and which to tone down, I stuck with my RTX 3070 / Core i5-11600K rig and tested them all at 1440p. Here’s what you can tweak: Speaking of, my testing setup averaged a mere 36fps on Very High Raytracing; that’s without DLSS or any other upscaling. The Raytracing preset was 25% faster, High was a full 100% faster (!), Medium was 131% faster and Low was 172% faster. Upscaler mode: If you have it in your power to use DLSS, use DLSS. Like the other available options, FSR and Linear, this boosts performance by upscaling a lower-res image, rather than the game simply rendering at native resolution. The ‘Quality’ DLSS option netted me an easy 58% more frames per second when using the High Quality Raytracing preset, and while its pre-patch implementation isn’t quite as sharp as native 1440p or 4K, it looks a damn sight cleaner than FSR and linear upscaling. Renderer Mode: This lets you switch between DirectX 11, DirectX 12, and DirectX Ultimate rendering. You’ll always need DX12 Ultimate to enable ray tracing; in fact, go ahead and change to DX12 in any case. I re-ran my High preset benchmark after switching from the DX11 default, and got 5% faster performance overall. Asynchronous Compute: When running in DirectX 12 (which, again, you should be) you can enable this setting, which basically optimises how your PC processes graphics data. Deactivating it cut my performance on the highest preset by a couple of frames per second, so there’s no reason to manually turn it off. Antialiasing Quality: This gets overridden by DLSS if you’re using it, but otherwise you can switch between High and Low quality AA. It doesn’t seem to make a difference to performance, surprisingly, so leave this one on High. Motion Blur Quality: Turning this off won’t improve performance at all, but does get rid of the fairly overbearing blur that comes with both the Low and High settings. Particles Quality: This affects the detail in rain and dust effects. I dropped it from its highest setting to its lowest and didn’t see any performance gain at all, so leave it up. Sun Shadows Quality: The first of the ray tracing options, this is a simple toggle between ray traced soft shadows and harder-looking (but still dynamic and realistic) PCF shadows. Switching to PCF when otherwise using Very High Raytracing’s settings saw an 8% performance boost on my PC. Ambient Occlusion Quality: If you’re not using ray tracing, the Low setting is about 2% faster than High without a big hit to fidelity. With ray traced AO, you get generally nicer-looking, more realistically-behaving shadows in cramped spaces, so it’s worth leaving on if your GPU can handle it. Global Illumination Quality: This covers a host of outdoor lighting effects, which are constantly changing on account of the game’s day/night cycle. Curiously, using the ray traced option for this will eat the frame rate if it’s the only RT setting in use, but when it customised the Very High Raytracing preset by dropping this single setting to High or Low, it didn’t improve performance at all. Weird! Reflections Quality: Another setting that makes a huge difference with ray tracing. That said, it’s also one you should consider cutting to smooth out performance; dropping from ray traced reflections to the non-RT High setting improved performance by 11%, and the Low setting by 17%. Raytraced Flashlight: This is the least impressive of the ray tracing options, as while it does very slightly enhance the light-bouncing effect of your trusty torch, it’s not a true shadow-casting effect. Then again, turning it off only bagged an extra 3% to performance. Fog Quality: No ray tracing here, and dropping from High to Low is a decent 6% performance booster. If you’ve been reading this on a PC with a GTX 10 series card, cursing me to belt it about the ray tracing stuff, then know it’s still possible give Dying Light 2’s performance a shot in the arm using standard settings. Since the Medium preset doesn’t look much worse than high to begin with, I’d suggest starting there if you’re on low-end or older hardware. Then, make the following adjustments, which got me a 17% improvement on the Medium preset as is:
Renderer Mode - D3D11 Contact Shadows Quality – Low Ambient Occlusion Quality – Low Reflections Quality – Low Fog Quality – Low
Don’t forget DLSS too, if your card supports it, and stick with its Quality setting. Trying to fine-tune settings for ray tracing is altogether more difficult. The Raytracing preset can and will run much faster than Very High Tracing, but in omitting ray traced contact shadows, reflections, and global illumination, it feels like a much harsher downgrade than, say, dropping from High to Medium. Ray traced reflections in particular are hard to give up once you see them in action. And while you can pick and choose, I didn’t see much of an improvement when only turning down the ambient occlusion and global illumination settings individually. Even so, I can’t recommend a maxed-out preset that only runs decently on one or two top-end graphics cards. You can use it as a starting point, but at least try to eke out a few more frames by lowering Fog Quality, and DLSS is a must. If that’s still not enough, bite the bullet and drop Reflections Quality to High.
